

 English
 Français
 русский
 عربى
 Español
There is a moment in almost every renovation when the budget meets the wish list. The marble splashback you pictured, the stone accent wall in the hallway, the rented flat that will never be tiled — all of it usually ends in compromise. Imitation tile marble wall stickers exist for exactly that moment. They are printed films carrying a convincing stone pattern, they go onto a prepared wall, and they can be trimmed with an ordinary craft knife. We produce these films, so we would rather be honest about what they do well and where they need a little patience.
Content
- 1 Why Imitation Tile Marble Wall Stickers Keep Winning
- 2 What You Are Actually Sticking on the Wall
- 3 Matching the Film to the Room
- 4 Measuring and Preparing Before Anything Is Peeled
- 5 Applying the Sticker Without Bubbles
- 6 Finishes That Change the Mood of a Room
- 7 Kitchens, Bathrooms and Other Wet Corners
- 8 Mistakes We See Most Often
- 9 Keeping the Surface Looking Like Stone
- 10 Questions We Are Asked Every Week
Why Imitation Tile Marble Wall Stickers Keep Winning
Consider what a wall sticker replaces: a tile setter, adhesive, grout, a week of dust and a bill that rarely matches the first quote. A printed marble film replaces the visual result, not the structural one, and that distinction is the whole point. It is a surface treatment, a millimetre or two thin, bonded to a wall that is already sound and dry.
The practical advantages are simple, and they explain why buyers order these films by the roll:
- Cost per square metre stays a fraction of natural stone or ceramic, even after tools and primer.
- No grout lines, so there is nothing to scrub, stain or re-seal later.
- Barely any weight added to the wall, which matters on plasterboard and in rented homes.
- A room can be finished over a weekend, and a single damaged panel can be replaced.
- Offcuts remain useful on cabinet sides, shelf fronts, table tops and door panels.
If you prefer to see the whole workflow first, our walkthrough on transforming a wall with imitation tile film follows the same steps with more detail on layout and measurement.
What You Are Actually Sticking on the Wall
A good marble sticker is a small laminate, not a sheet of coloured plastic. Reading from the wall outward, it usually contains an adhesive layer, a printed base film, the marble design itself, and a thin transparent wear layer that takes the scuffs so the pattern underneath does not. A release liner protects the adhesive until the moment you peel it back.
The base film is normally PET or PVC. PET tends to stay flatter and resist yellowing; PVC feels softer, conforms to slight curves and is the usual choice where moisture is a factor. The stone effect comes from printing, and this is where quality separates quickly. Our own lines run five- and six-colour presses up to 2400 mm wide, followed by extrusion, solvent-free or dry lamination, then slitting. Wide printing means fewer seams across a wall, and fewer seams means fewer places for a pattern to break.
Finish deserves more attention than it usually gets. A matte surface reads like honed marble and hides small wall imperfections; a high-gloss surface reads like polished stone but mirrors every bump, so the wall behind it must be genuinely flat. Neither is better — they simply suit different rooms.
Matching the Film to the Room
Most buyers choose by photograph and then discover the film behaves differently from what they imagined. The table below compares the three families we produce most often, judged by surface, typical location and the one thing that tends to matter in each case.
| Film type | Surface character | Usually chosen for | What to watch |
|---|---|---|---|
| Modern marble wall sticker | Matte, soft grey and white veining | Living rooms, bedrooms, hallway accent walls | Very forgiving in daylight; still needs a dust-free wall |
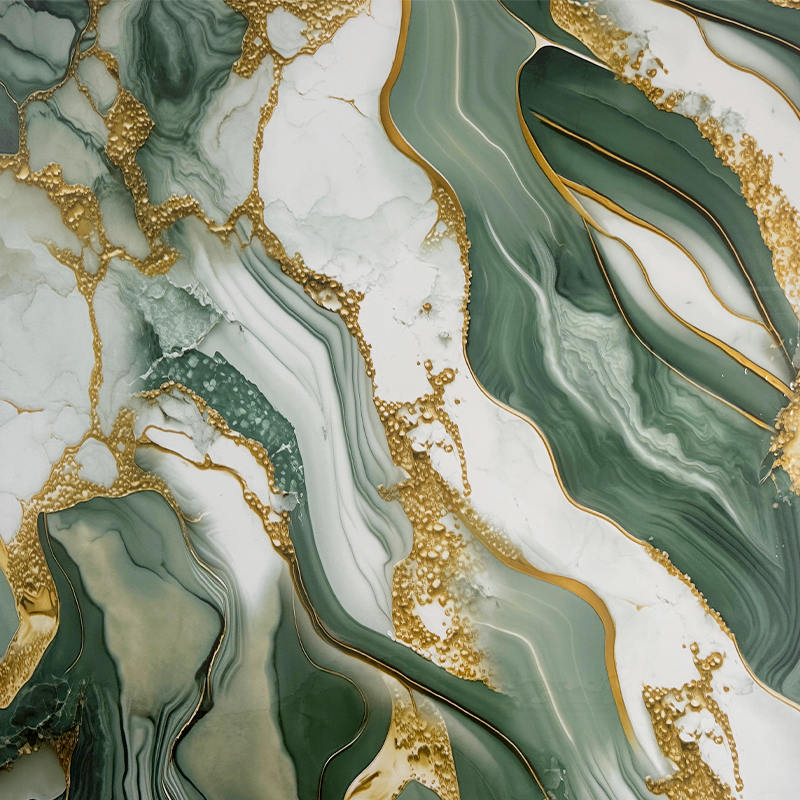
| Gilded marble wall sticker | Metallic gold veining, higher sheen | Feature panels, furniture fronts, niches | Best on smooth, flat surfaces where light can play |
| PVC waterproof and moisture-proof wall sticker | Sealed PVC face, low gloss | Kitchens, bathrooms, utility corners | Seal the cut edges properly or steam will find them |
For a first project, most people are happiest starting with a neutral, matte pattern that lets the room's own colours do the talking. The modern marble range is built exactly for that role: restrained veining, a calm surface, and a pattern that still looks like stone when the afternoon sun crosses it.
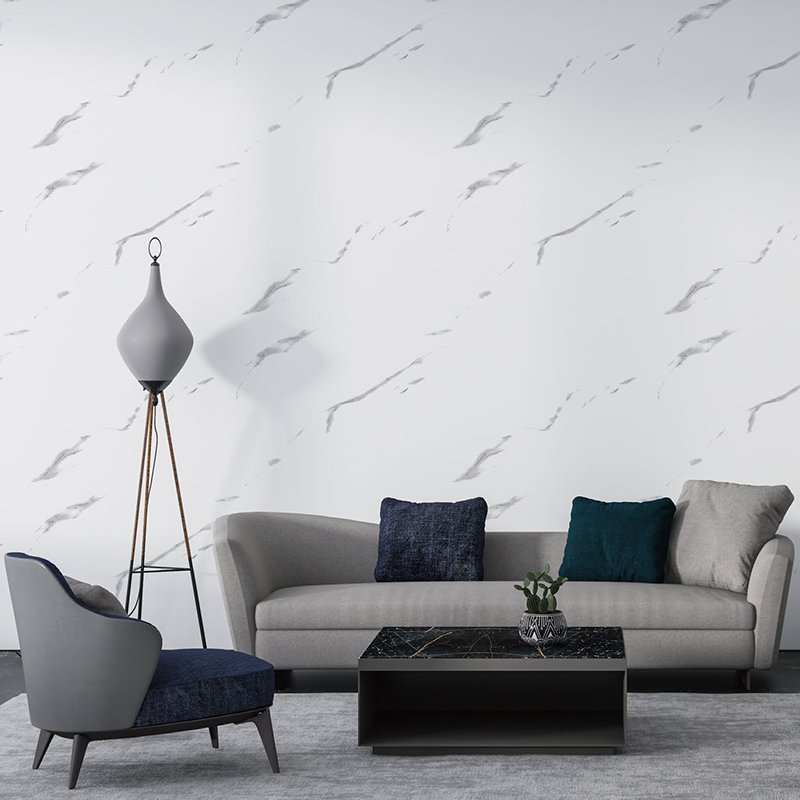 Modern Marble Self-Adhesive Wall StickerA neutral, matte marble-pattern film for a first wall project, offering peel-and-stick coverage that protects walls from stains and wear.View Product →
Measuring and Preparing Before Anything Is Peeled
Almost every complaint we hear about wall stickers traces back to preparation, not to the film. Give this stage a full afternoon and the rest becomes easy.
- Measure the full wall height and width, not just the area you plan to cover, and add 5 cm to each edge for trimming.
- Run a straight edge or level across the wall. Hollows and ridges show up in raking light and will show through the film.
- Wash the wall with a degreasing cleaner, then rinse and let it dry completely.
- Fill cracks and old fixing holes, sand flush, and dust off with a tack cloth.
- Seal glossy paint and new plaster with a primer, because adhesive grips primer far better than it grips sheen.
- Unroll the film and let it relax flat in the room for a day so it reaches room temperature before installation.
Applying the Sticker Without Bubbles
Work top to bottom, in narrow bands, and resist the urge to peel the whole liner away at once.
- Draw a vertical plumb line where the first panel will sit, so the pattern stays square.
- Peel back roughly 20 to 30 cm of liner, align the top edge to the line, and press that strip down lightly.
- Squeegee from the centre outward with a felt-edged tool, chasing air ahead of you rather than trapping it.
- Continue downward in similar bands, lifting and re-laying immediately if a crease forms.
- Where two panels meet, overlap them by a few millimetres, then cut through both layers with a sharp blade and lift away the waste for a near-invisible joint.
- Trim the edges with a fresh blade held against a straight edge, then press the perimeter down firmly.
Finishes That Change the Mood of a Room
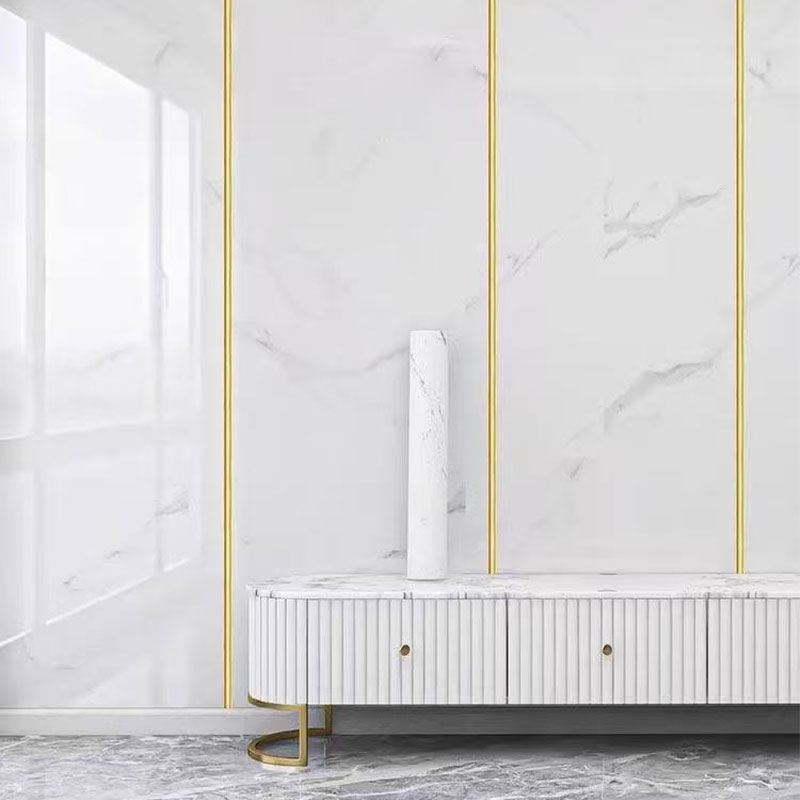
Marble is not one look. A pale, quiet pattern lets furniture lead; a darker pattern with metallic veins becomes the thing people notice when they walk in. Gold veining works particularly well in small doses — a chimney breast, the back of a shelving unit, a panel behind a bedside table — because it catches light and adds depth without shouting. On large flat walls, keep the panel count low so the veining reads continuously instead of resetting every metre.
 Gilded Marble Effect Wall StickerA water-resistant gilded marble-effect film for accent walls and small panels, offering strong adhesion and a lower-cost alternative to real marble.View Product →
Kitchens, Bathrooms and Other Wet Corners
Humidity is the honest test of any adhesive film. A standard wall sticker will survive occasional splashes, but a room with daily steam needs a sealed PVC face and, just as importantly, sealed edges. Run a thin bead of clear silicone along the bottom edge and around any cut-out for a tap or socket, and let it cure fully before the room goes back into service. Avoid stretching the film around corners in wet areas; a clean butt joint with a bead of sealant lasts far longer than a stretched fold.
 PVC Waterproof Marble Wall StickerA moisture-resistant PVC marble film for bathrooms and kitchens, designed to be removable and replaceable while resisting oil and everyday wall wear.View Product →
Mistakes We See Most Often
- Applying over dusty or greasy paint, then blaming the adhesive when corners lift.
- Skipping primer on gloss surfaces, which is the single most common cause of edges curling.
- Peeling the entire liner away and trying to position a full panel in one movement.
- Stretching the film to force it around a corner instead of cutting and joining.
- Ignoring wall texture, then wondering why the veining looks uneven in evening light.
- Installing in a cold room, where the adhesive stays stiff and bubbles are harder to chase out.
Keeping the Surface Looking Like Stone
Care is refreshingly boring. Wipe with a soft damp cloth and a mild detergent, rinse, and dry the surface rather than leaving it wet. Avoid abrasive pads, solvent cleaners and anything with bleach on the printed face. Once or twice a year, run a fingertip along the seams; if an edge has lifted, warm it briefly and press it back down, or add a small bead of clear sealant in wet rooms.
Questions We Are Asked Every Week
Will it damage the paint when it comes off?
On a well-bonded, dust-free wall, most films lift cleanly if warmed gently and pulled back at a low angle. Fresh emulsion that has not fully cured is the usual culprit when paint comes away, so wait a few weeks after painting before applying anything.
Can it go over existing tiles?
Yes, provided the grout lines are filled flush and the glaze is degreased. Unfilled joints telegraph through the film within weeks, which is why a skim of filler is not optional.
How long does it realistically last?
In a dry interior room, several years is a fair expectation. In a bathroom it depends almost entirely on edge sealing and ventilation, so inspect the seams once a year and reseal where necessary.
None of this is complicated, and that is precisely why imitation tile marble wall stickers work so well for real homes: the material is simple, the process is forgiving, and the result is visible the same afternoon. Measure carefully, prepare properly, and buy a sample first. Everything after that is just patience with a squeegee.